
1. Introduction
CS ModBuddy is for those who prefer to use a desktop app for planning their modules. More importantly, CS ModBuddy is optimized for those who prefer to work with a Command Line Interface (CLI) while still having the benefits of a Graphical User Interface (GUI). If you can type fast, CS ModBuddy can get your module planning done faster than traditional GUI apps. Interested? Jump to the Section 2, “Quick Start” to get started. Enjoy!
2. Quick Start
-
Ensure you have Java
11or above installed in your Computer. -
Download the latest
csmodbuddy.jarhere. -
Copy the file to the folder you want to use as the home folder for your module plan.
-
Double-click the file to start the app. The GUI should appear in a few seconds.
-
Type the command in the command box and press Enter to execute it.
e.g. typinghelpand pressing Enter will display instructions for all commands. -
Refer to Section 3, “Features” for details of each command.
3. Features
Command Format
-
Words in
UPPER_CASEare the parameters to be supplied by the user e.g. inaddmod SEMESTER MODULE_CODE,SEMESTERis a parameter which can be used asaddmod y1s1 cs1101s. -
Items in square brackets are optional e.g
newplan [TITLE]can be used asnewplanor asnewplan Algo and Graphics. -
Items with … after them can be used multiple times e.g.
TAG_NAME…can be used ascore,core completed, etc.
3.1. Basic
3.1.1. General Help: help
Provides a list of possible commands the user can type with brief descriptions.
Format: help
3.1.2. Help for a specific command: help
Provides detailed help for a specific command, including the parameters required.
Format: help COMMAND
Example:
-
help newplan
3.1.3. Autocompleting: tab
When the user presses tab, the command word, or module code, or semester,
or tag name will be autocompleted
If there is only one possible completion, it will be filled immediately.
If there is more than one possible completion, a menu of possible autocompletions
is drawn that can be selected with the up and down buttons.
3.1.4. Undo-ing the previous command: undo
Undo the previous command. The state of the application will revert back to that before the previous command. This command cannot undo itself.
The commands that make changes to the storage file, such as commit, cannot be undone.
|
Format: undo
3.1.5. Redo-ing the previous undone command: redo
Redo the previous undone command. The state of the application will revert back to that before the undo. This command cannot redo itself.
Format: redo
3.1.6. Error messages
Displays a useful error message if the input is invalid. For example, it should highlight wrong commands, wrong numbers of arguments, or arguments in the wrong format.
3.2. Module
3.2.1. Assigning a module to a given semester: addmod
Assigns the specified module to a given semester of the current study plan.
| Only CS modules may be added to the study plan. Additional modules taken outside of the CS curriculum, such as other University Level Requirements (ULRs) or Unrestricted Electives (UEs), are outside the scope of our application. |
Format: addmod SEMESTER MODULE …
Examples:
-
addmod y1s1 CS1101s -
addmod y2s2 CS3244 CS3245 CS3233
3.2.2. Removing a module from a given semester: removemod
Removes the specified module to a given semester of the current study plan.
Format: removemod SEMESTER MODULE …
Examples:
-
removemod y1s1 CS1101S -
removemod y2s2 CS3244
3.2.3. Finding modules using module code: findmod
Shows the semester that the specified module is located at.
Format: findmod MODULE_CODE
Examples:
-
findmod cs1101s
3.2.4. Viewing description of a module: description
Shows the description of a particular module, including its prerequisites.
Only computer-science related modules will have these descriptions, and not general modules nor electives.
Format: description MODULE_CODE
Example:
-
description CS2103T
3.2.6. Showing all focus area primary modules: showfocus
Shows all focus area primary modules.
Format: showfocus
3.2.7. Display for invalid modules
Highlights a module in red if it doesn’t satisfy any of its prerequisites, displaying these required modules.
3.3. Semester
3.3.1. Adding a semester: addsem
Adds a non-mainstream semester (i.e. special term or Year 5 semester) to the current active study plan.
| The user is not allowed to add a mainstream semester. The eight default semesters will always be displayed on the GUI. |
Format: addsem SEMESTER
Example:
-
addsem y5s1
3.3.2. Removing a semester from a study plan: removesem
Deletes all the modules in the specified semester in the current active study plan, after which that
semester will contain no modules. If the semester to be deleted is a mainstream semester (i.e. not a special term
or a Year 5 semester), an empty semester will remain on the GUI. If the semester is a non-mainstream semester,
e.g. Y1ST1, the whole semester will disappear from the current study plan.
Format: removesem SEMESTER
Examples:
-
removesem y2s2 -
removesem y1st2
3.3.3. Setting the current semester. setcurrent
Sets the given semester as the current one. Semesters before the specified semester will be locked and therefore modules cannot be added or removed from them.
Format: setcurrent SEMESTER
Examples:
-
setcurrent y1s2
3.3.4. Blocking off the given semester: block
Block off the given semester, for reasons such as exchange, LOA, etc.
Format: block SEMESTER [REASON]
3.3.5. Unblocking the given semester: unblock
Unblock the given semester.
Format: unblock SEMESTER
3.3.6. Viewing modules that can be taken in a given semester : validmods
Shows all the modules that can be taken in a given semester, based only on whether its prerequisites have been met.
| This semester need not necessarily exist in the module planner for you to view its valid modules. Moreover, certain modules such as the internship and dissertation may show up in early semesters, because their prerequisites are not expressible in terms of prerequisite modules. |
Format: validmods SEMESTER
Example:
-
validmods y2s1
3.4. Tagging
| All tag names must be single words and cannot be more than 25 characters long. |
3.4.1. Viewing default tags : viewdefaulttags
Shows all default tag types.
Format: viewdefaulttags
List of default tags:
-
Completed: Completed modules are modules that are in any semester before the current semester. -
Core: Core modules are Computer Science Foundation modules that count towards Programme Requirements. -
S/U-able: S/U-able modules are modules that permit the Satisfactory/Unsatisfactory option. -
UE [coming in v2.0]: UE modules are Unrestricted Elective modules. -
ULR [coming in v2.0]: ULR modules are modules that count towards University Level Requirements. -
FOCUS_AREA_NAME:P: P modules are modules that count towards Focus Area Primaries for FOCUS_AREA_NAME. -
FOCUS_AREA_NAME:E: E modules are modules that count towards Focus Area Electives for FOCUS_AREA_NAME.
3.4.2. Tagging modules : addtag
Attaches a tag to a module.
Format: addtag MODULE_CODE TAG_NAME
If a tag with the given TAG_NAME does not exist, a new tag will automatically be created and tagged to the specified module.
|
Example:
-
addtag cs3230 exchange
Attaches the tag with name exchange to CS3230.
3.4.3. Deleting tags: deletetag
Deletes a tag completely and removes it from any module that it is attached to.
Format: deletetag TAG_NAME
| Only user-created tags can be deleted, i.e. default tag cannot be deleted. |
Example:
-
deletetag exchange
3.4.4. Removing a tag from a module: removetag
Removes a tag from a module.
Format: removetag MODULE_CODE TAG_NAME
Example:
-
removetag cs3230 exchange
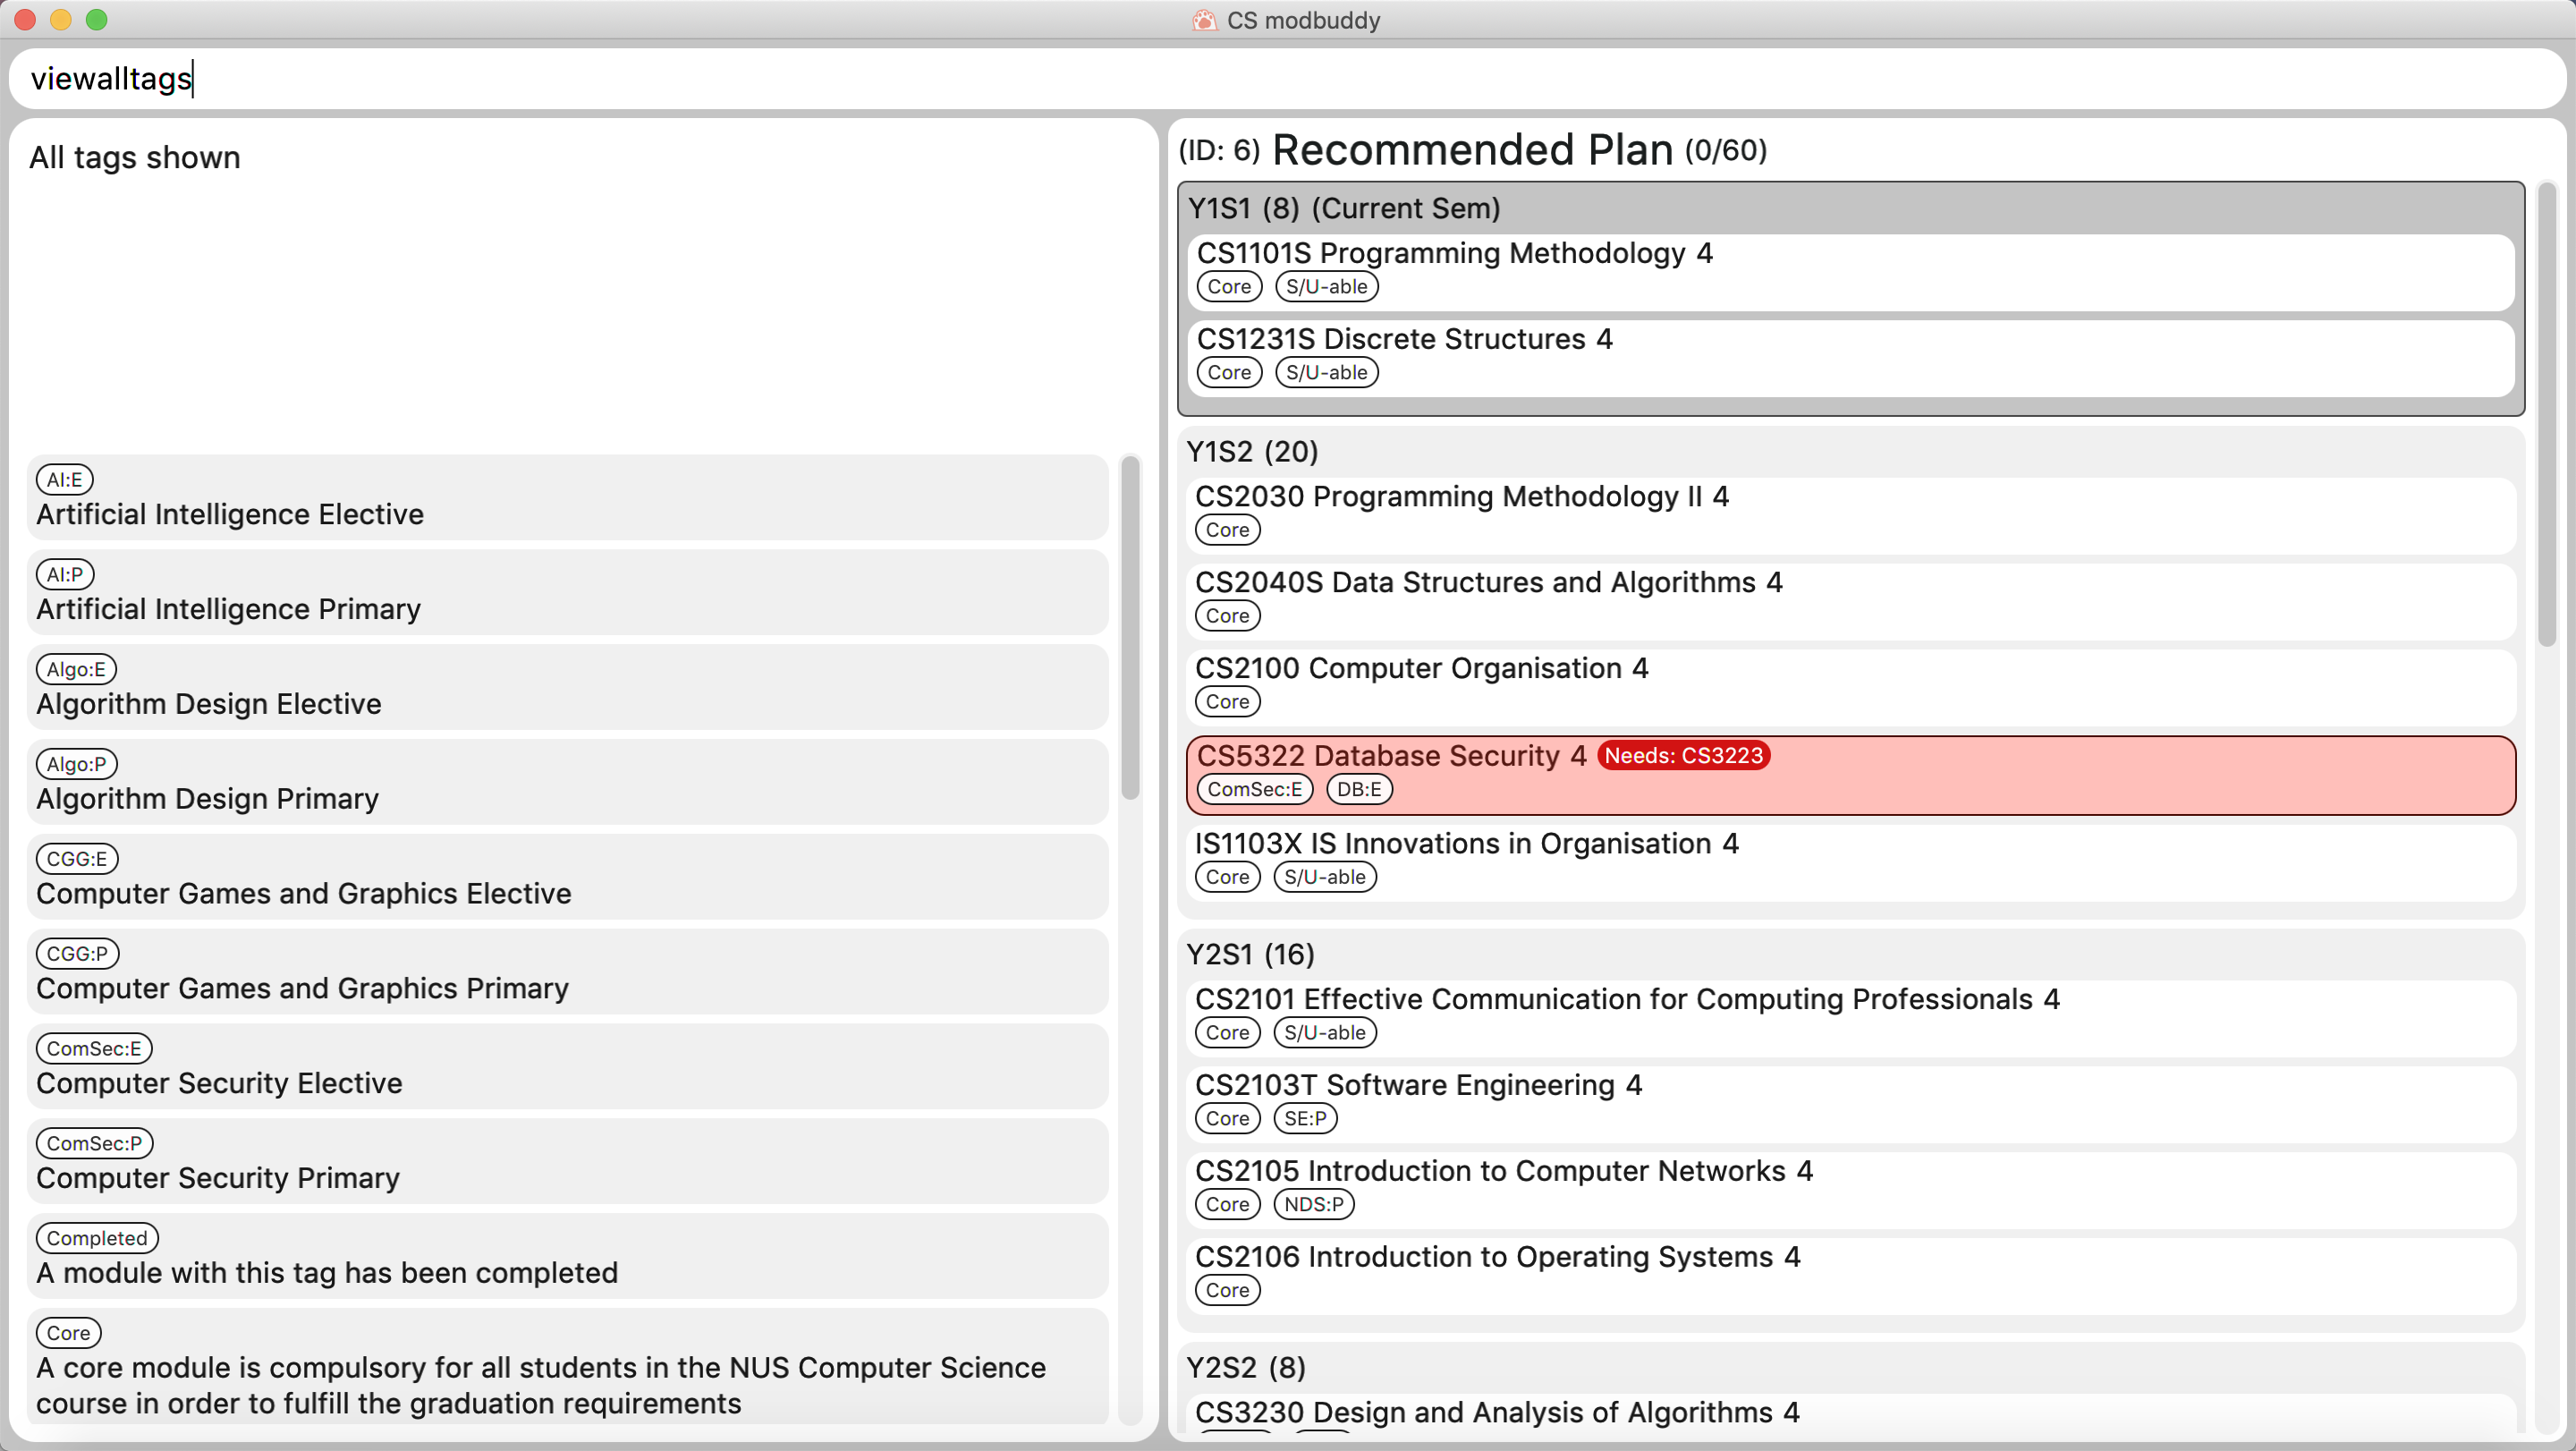
3.4.5. Viewing all tags : viewalltags
Shows all tag types.
Format: viewalltags
3.4.6. Renaming an existing tag : renametag
Renames a tag.
Format: renametag ORIGINAL_TAG_NAME NEW_TAG_NAME
Only user-created tags can be renamed, i.e. default tag cannot be renamed. Also, renametag currently does not support
renaming tags to names that differ only in letter case, i.e. if the new tag name is the same as the old tag name, it will not be renamed.
This will be done in v2.0.
|
Example:
-
renametag exchange sep
Renames the tag name from exchange to sep.
3.4.7. Viewing modules with specific tags : viewtagged
Shows all modules attached to all the specified tags.
Format: viewtagged TAG_NAME ...
Examples:
-
viewtagged completed
Shows all modules that are tagged as completed. -
viewtagged core completed
Shows all modules that are tagged as core and completed.
3.4.8. Viewing tags for a specific module : viewtags
Shows all tags attached to the specified module.
Format: viewtags MODULE_CODE
Examples:
-
viewtags cs2030
3.4.9. Removing all tags from the study plan : removealltags
Removes all user-created tags in the entire study plan.
Format: removealltags
3.5. Study Plan
3.5.1. Creating a new study plan: newplan
Creates a new study plan with an optional title. The title should contain only ASCII characters, and should not be longer than 20 characters.
| Each study plan is assigned a unique ID upon its creation. This ID will remain the same throughout the life of the study plan. The ID will be reset to 1 when all study plans are deleted and the application is restarted. |
Format: newplan [TITLE]
Examples:
-
newplan -
newplan noc half year -
newplan minor in maths
3.5.2. Deleting a study plan: removeplan
Deletes a study plan with a given ID.
Format: removeplan PLAN_NUMBER
Example:
-
removeplan 4
3.5.3. Listing all study plans: list
Lists all the study plans that the user has created and has not deleted.
| Each study plan is assigned a unique ID upon its creation. This ID will remain the same throughout the life of the study plan. |
Format: list
3.5.4. Viewing another study plan: viewplan
Shows the study plan with a given ID. The specified study plan will be displayed on the left panel of the GUI
as a simplified study plan. This does not activate that study plan, so it is for viewing only.
Format: viewplan PLAN_NUMBER
Example:
-
viewplan 3
This allows the user to view the study plan with an ID of 3.
3.5.5. Setting another study plan as active: activate
Replaces the current study plan with the specified study plan as the active one.
Format: activate PLAN_NUMBER
Example:
-
activate 2
3.5.6. Editing the title of current study plan: title
Changes the title of the current active study plan. The title should contain only ASCII characters, and should not be
longer than 20 characters.
Format: title PLAN_TITLE
Example:
-
title Algo and Graphics
3.5.7. Setting default study plan: default
Generates a study plan with pre-populated modules according to the recommended study plan for a Year one CS student.
Format: default
3.5.8. Adding priority tags to a study plan : setpriority
Attaches a priority tag to the study plan.
Format: setpriority PRIORITY_LEVEL STUDY_PLAN_ID
Examples:
-
setpriority high 1 -
setpriority low 3
3.5.9. Removing priority tags from study plan: removepriority
Removes the priority tag from the study plan.
Format: removepriority STUDY_PLAN_ID
Examples
-
removepriority 1 -
removepriority 3
3.5.10. Listing study plans by priority: listbypriority
Lists all study plans in the order of their priorities.
Format: listbypriority
3.5.11. Checking a study plan’s feasibility : check
Shows details about what graduation requirements are left to be fulfilled, such as MCs, core or focus area modules that remain to be taken.
| This command will not check for the minimum number of MCs to be taken per semester, as additional modules that students may take (such as UEs or ULRs) are outside the scope of our project. |
Format: check [AREA]
Examples
-
check mcs -
check core -
check focus -
check
3.5.12. Clear all currently invalid modules : clearinvalidmods
Clears all modules that are currently invalid, whose prerequisites have not been met in previous semesters.
This may cause other modules in future semesters to be invalidated as well.
Format: clearinvalidmods
3.6. Version Tracking
3.6.1. Committing edits to a study plan: commit
Saves changes to a study plan with a short commit message.
| Even without committing, the module planner is automatically saved to storage after every command is executed successfully. However, commits allow the user to revert to a previous state of the study plan. |
| The user is allowed, but not recommended, to commit a study plan even when there are no changes since the previous commit. |
Format: commit SHORT_MESSAGE
Examples:
-
commit planned until y2s2 -
commit haven’t added UEs
3.6.2. Checking commit history: history
Shows all commit history of the current study plan.
Format: history
3.6.3. Viewing a commit: viewcommit
Shows the version of the current study plan for a particular commit. This does not create a new commit, nor does it
return the study plan to a previous version. The commit will be displayed as a simplified study plan.
Format: viewcommit COMMIT_NUMBER
Example:
-
viewcommit 1.1
This allows the user to view commit 1 of study plan 1 (which is currently active).
3.6.4. Reverting to a commit: revert
Reverts to the version of the current study plan for a particular commit. This creates a new "Revert to" commit and returns the current active study plan back to the state in the specified commit.
| The user is allowed, but not recommended, to revert to another "Revert to" commit. This will create a long chain of "Revert to Revert to …" commit messages. |
Format: revert COMMIT_NUMBER
Example:
-
revert 1.1
Suppose there are commits1.0,1.1,1.2, and1.3. This allows the user to revert to commit 1 of study plan 1, creating a new commit called1.4: Revert to "COMMIT_MESSAGE_OF_1.1".
3.6.5. Removing a commit: removecommit
Removes a commit in the current active study plan specified by the commit number.
Format: removecommit COMMIT_NUMBER
Example:
-
removecommit 2.2
3.7. GUI
3.7.1. Expanding a semester: expand
Expands a semester so that more details can be seen. Will display module titles, MC count, and their tags.
Format: expand SEMESTER
Example:
-
expand y1s1
3.7.2. Expanding all semesters: expandall
Expands all semesters so that more details can be seen. Will display module titles, MC count, and their tags.
Format: expandall
3.7.3. Collapsing a semester: collapse
Collapses a semester so that most details are hidden. Will hide module titles, MC count, and their tags.
Format: collapse SEMESTER
Example:
-
collapse y1s1
3.7.4. Collapsing all semesters: collapseall
Collapses all semesters so that most details are hidden. Will hide module titles, MC count, and their tags.
Format: collapseall
3.7.5. Changing the theme of the GUI: theme
Changes the theme of the GUI. Existing themes are: light, dark, hacker, dawn.
Format: theme THEME_NAME
Examples:
-
theme light -
theme dark -
theme hacker -
theme dawn
4. Upcoming Features [coming in v2.0]
4.1. Basic
4.1.1. Chaining commands [coming in v2.0]
Chain commands together for greater efficiency. The commands, if different, are separated by a ‘&&’. ‘&&’ is not needed if the command is the same.
Format: COMMAND_1 && COMMAND_2 && …
Examples:
-
addmod y1s1 CS1101S CS1231 MA1521 -
movemodule CS2105 y2s1 y2s2 && addmod CS2106 y2s2
4.2. Semester
4.2.1. Moving a semester to a study plan: movesem [coming in v2.0]
Moves a semester of modules to another study plan with a specified ID.
Format: movesem SEMESTER SOURCE_PLAN DESTINATION_PLAN
Examples:
-
movesem y2s2 1 3 -
movesem y3s1 2 1
4.3. Module
4.3.1. Naming a UE from a semester. [coming in v2.0]
Names a UE from the given semester with the given module name. This feature is purely for aesthetic purposes and has no functional implications.
Format: nameue SEMESTER NAME
Examples:
-
nameue y1s1 GER1000
4.3.2. Moving a module from one semester to another. [coming in v2.0]
Moves a given module from a source semester to a destination semester, as specified.
Format: movemod MODULE SEMESTER_SRC SEMESTER_DEST
Examples:
-
movemod CS3243 y2s1 y2s2
4.4. Tagging
4.4.1. Setting focus area tags to study plans: [coming in v2.0]
A tag with the declared focus area will automatically appear when the user declares his/her focus area.
4.4.2. Get module codes from keywords: [coming in v2.0]
Shows all module codes of modules with names containing the specified keywords.
4.4.3. Tagging modules across all study plans: [coming in v2.0]
Attaches a specified tag to a module across all study plans. For example, a tag difficult can be attached to a
given module across all study plans instead of tagging them individually in every study plan.
4.4.4. Change colour theme of tags: [coming in v2.0]
Changes the colour theme of all the tags in the study plan with the specified one.
4.4.5. Change colour of specific tags: [coming in v2.0]
Changes the colour of a specific tag.
4.5. Study Plan
4.5.1. Declaring a focus area: [coming in v2.0]
Declares the given focus area as one of the focus areas of the study plan. This means that the requirements of the focus area has to be met to be eligible for graduation.
Format: declarefocusarea FOCUS_AREA
4.5.2. Displays for an invalid study plan [coming in v2.0]
The study plan will have a tick or cross beside it, which shows if the entire plan is feasible.
4.6. GUI
4.6.1. Animations: [coming in v2.0]
Expanding and collapsing semesters will be fluidly animated.
4.6.2. Colours: [coming in v2.0]
Each module and tag can be assigned with a specific colour to allow more customisation.
5. FAQ
Q: How do I transfer my data to another Computer?
A: Download the jar file in the other computer and overwrite the empty data folder it creates with the previous data folder containing the moduleplanner.json.